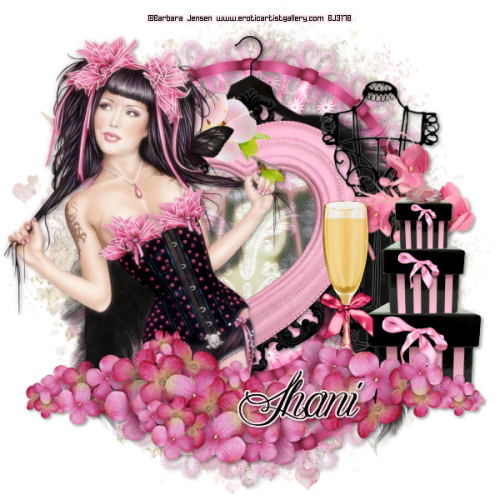
This tutorial was written by me on February 16th, 2015 and is my own creation. Any resemblance to any other tutorial is purely coincidental and unintentional.
PSP Version used: PSP X5
This tutorial assumes you have a good working knowledge of PSP.
Supplies:
Tube of choice. I am using the amazing art of Barbara Jensen. You can purchase her tubes here.
FTU kit by Wicked Princess Scraps called Dita. You can find it here.
Font of choice. I am using Aligot de Mirabelle.
Mask FM2 by Dangerously Delicious Designz. You can grab it here.
——————–
Open Frame3. Image, Canvas Size, 700 x 700. Resize all layers by 86%.
With your magic wand tool, click inside the frame. Selections, modify, expand by 15. Open PP9. Copy & paste as a new layer. Selections, invert, & press delete. Deselect & move this layer below your frame layer.
Open Fan2. Resize by 60%. Copy & paste as a new layer & place slightly above the top of your frame. Duplicate, flip vertical, & place slightly below the bottom of the frame. Merge these two layers together. Move this layer below your paper layer.
Open Bust2. Resize by 75%. Copy & paste as a new layer above your frame layer. Place to the right side.
Open the Boxes. Resize by 40%. Copy & paste as a new layer. Place to the bottom right of the bust.
Open Glass1. Resize by 40%. Copy & paste as a new layer. Place to the bottome left of the bust.
Open Flower5. Resize by 59%. Copy & paste as a new layer. Place to the bottom.
Open your mask & PP12. Copy & paste your paper as a new layer and move to the bottom layer. Apply your mask, merge group. Duplicate this layer twice and then merge the masked layers together.
Open you tube. Resize as necessary. Copy & paste as a new layer just below the frame layer. Flip horizontal & place in the frame opening. On the frame back paper layer, select all, float, defloat. On the tube layer, selections, invert. Press delete & deselect. Duplicate your tube, gaussian blur 3.00. Set the blend mode to Hard Light, opacity 60. On the original layer, set the blend mode to Screen, opacity 50.
Copy & paste your tube again. Place this copy just below your flowers layer, resizing as necessary. Place towards the left side. Duplicate, gaussian blur with the same settings as before. Set the blend mode to Screen, opacity 50.
Add your name, copyright, & license info. Apply a drop shadow of choice & then merge visible. Save as a PNG.
Thanks for checking out my tutorials.


Jan 02, 2016 @ 16:41:17
Thank you, lovley Tut.